
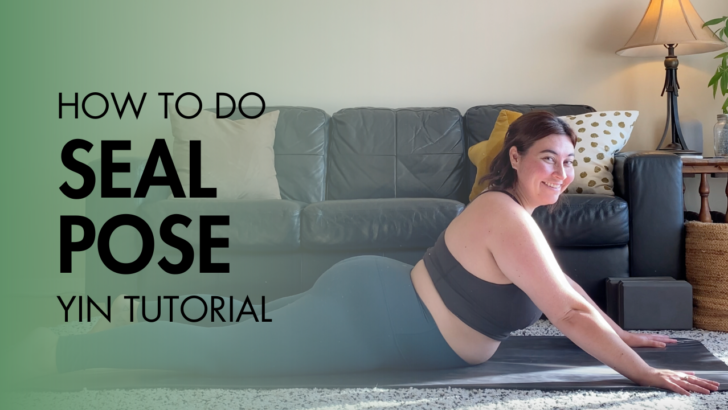
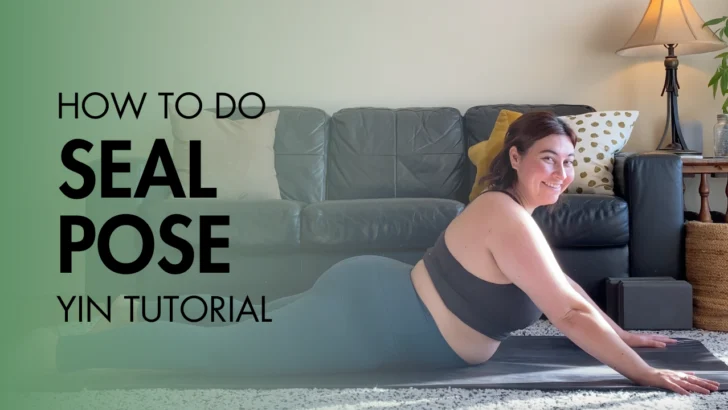
Seal pose adds onto the already wonderful backbend from sphinx pose. Seal can create quite a bit of intensity so use this pose more sparingly during your practice and with students. It’s important to remind yourself and students that seal pose is a peak pose that you do not have to reach but is merely an option.
Get into Seal Pose Step-by-Step
- Begin in sphinx pose.
- Keep your elbows where they are. Move your hands to the sides so your fingers point towards the top corners of your mat.
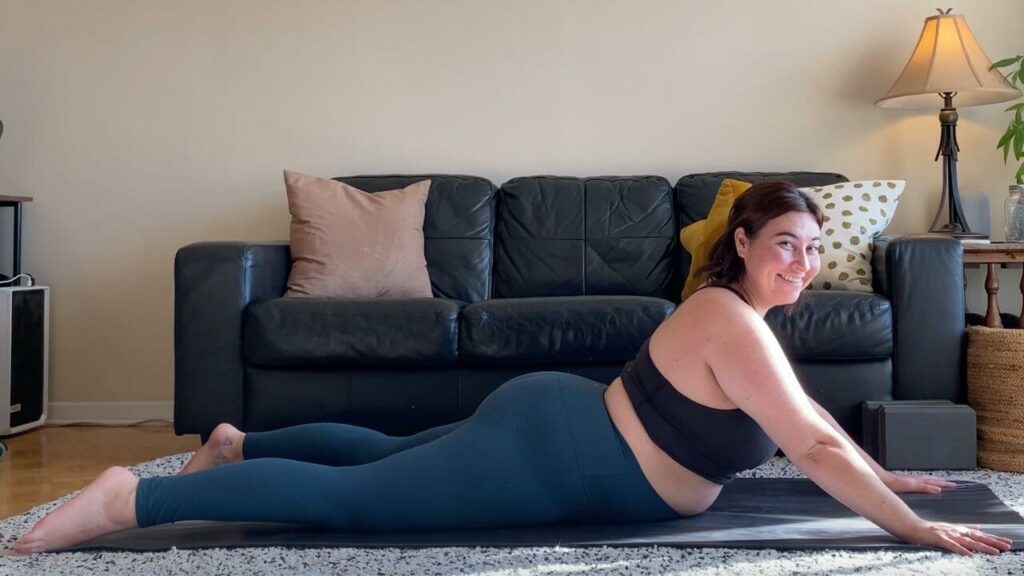
- Press into your palms to lift your elbows off of the mat.
- Keep a micro bend in your elbows.

Benefits
- Physical: Seal invites a deeper compression of the lower back than sphinx. It also increase the stretch across the belly and into the hip flexors.
- Energetic: The Urinary Bladder meridian is still stimulated from sphinx.
- Emotional & Mental: When the upper body lifts off the mat into seal it activates the solar plexus chakra. This continues to energize the body and awakens your inner power.
Contraindications
- Avoid this pose if you are pregnant. Practice a supported variation of sphinx instead.
- Do not practice this pose if you have a headache.
- For wrist pain or injuries, place a folded blanket under your wrists.
- Release from seal and return to sphinx if there is any pinching or pain.
Variations
- Seal pose.
Get Out of the Pose
- With control, lower your elbows back to the mat.
- Spread your elbows wide to the edges of your mat.
- Stack your hands and rest your forehead on the back of your hands.
Counter Poses
- Windshield wipers.
- Child’s pose.
- Cat/cow.
How Long to Hold Seal?
- 1-3 minutes.
- For beginners start in 1-minute increments.
- If beginning in sphinx, hold each variation for 1-3 minutes or interchange between the two poses every 1-2 minutes.